


Baywatch
| This boat is owned by the Baywatch towing company. One of our former employees, Bill Turner, was working on this boat part time, and the owner was buying supplies from us. | 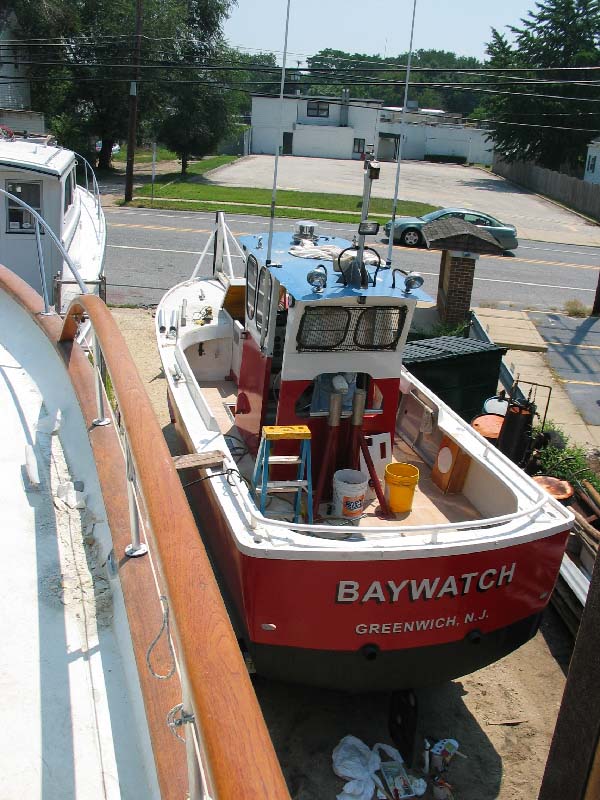 |
 |
One of the first things we sold him were new hatches. This one is inside of the cabin. |
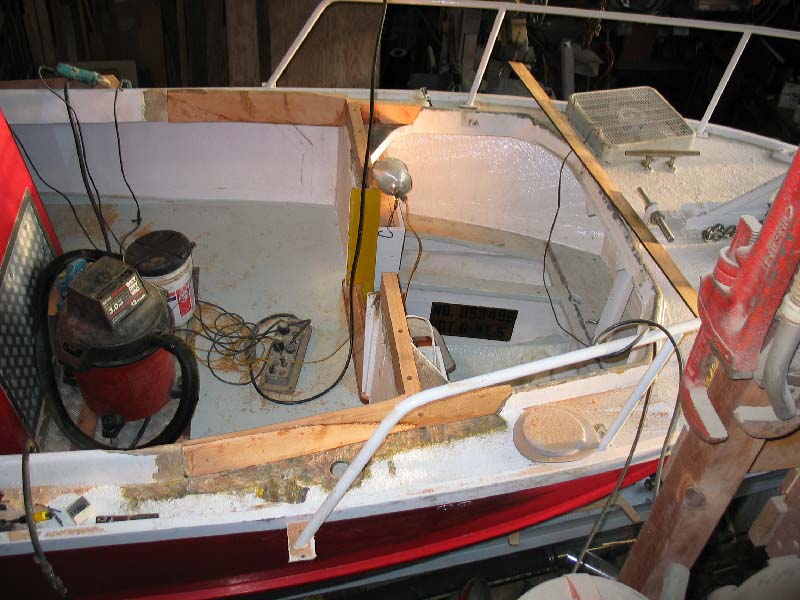
| There are three hatches on the back deck, there is not much room under the deck of this boat so anything that will ever need to be adjusted or maintained has to be accessed from the deck. | 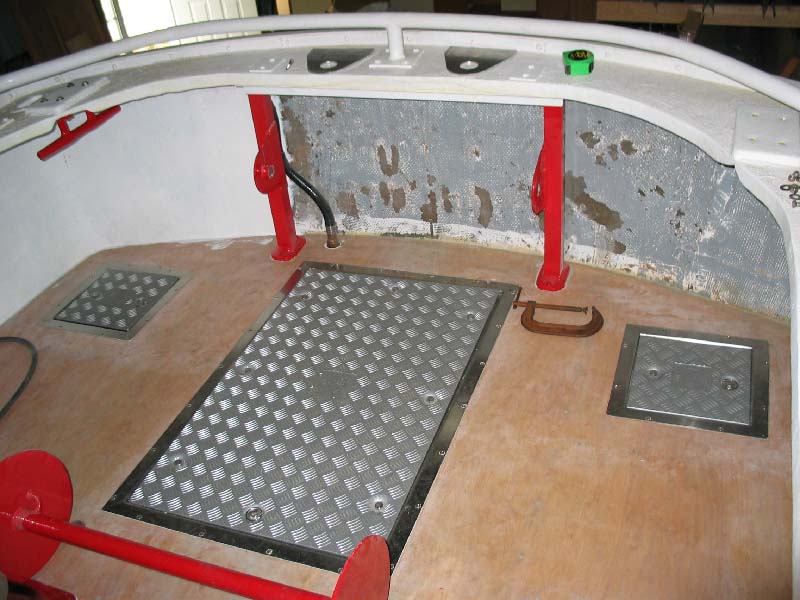 |
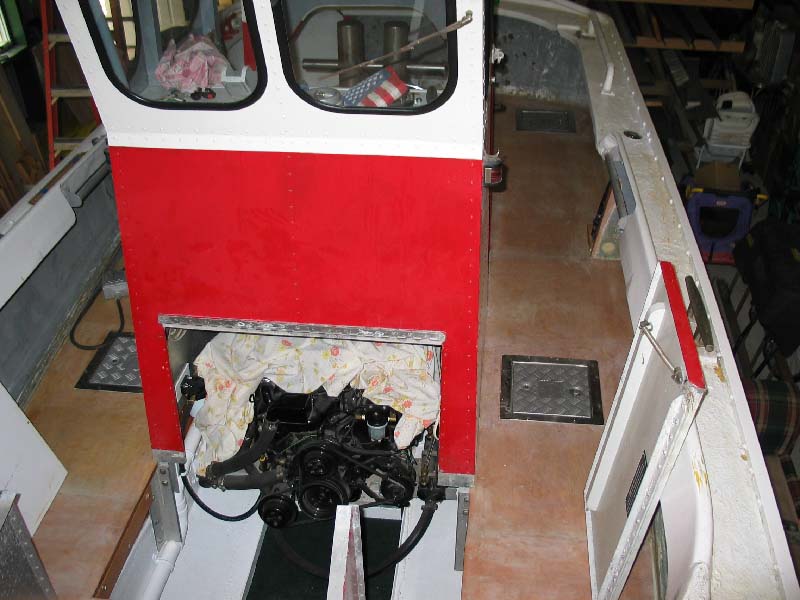 |
It took a while to figure out what to do with this area. In order to access the engine for maintenance something had to be built that was removable, the original layout had a large box sitting on the deck which covered up this hole. |
| The new layout adds a lot of space to an otherwise cramped deck. Both hatches are removable to allow access to the engine, plus if the engine must be removed its simply a matter of removing the hatch frames and one support. | 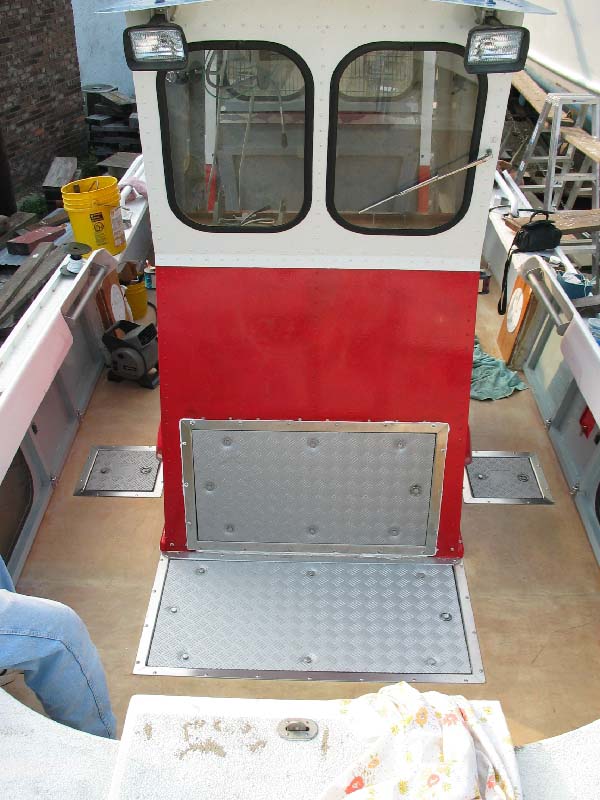 |
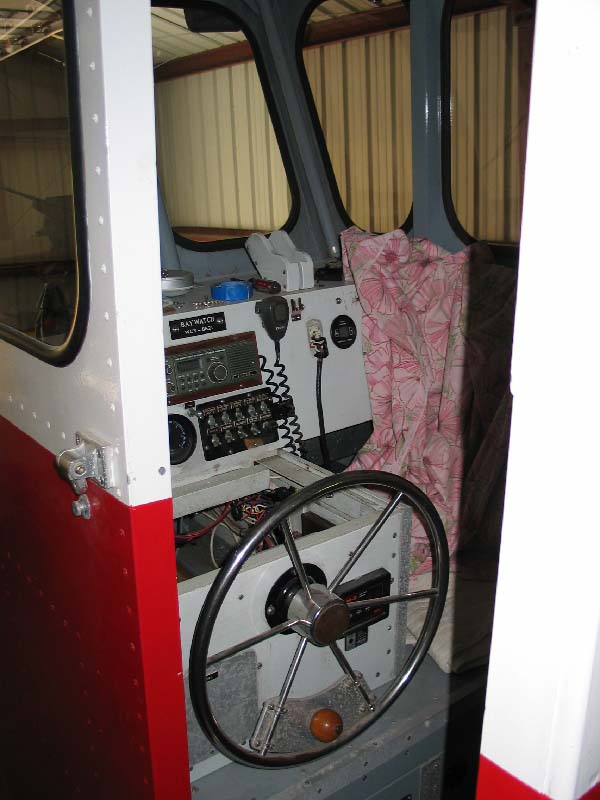 |
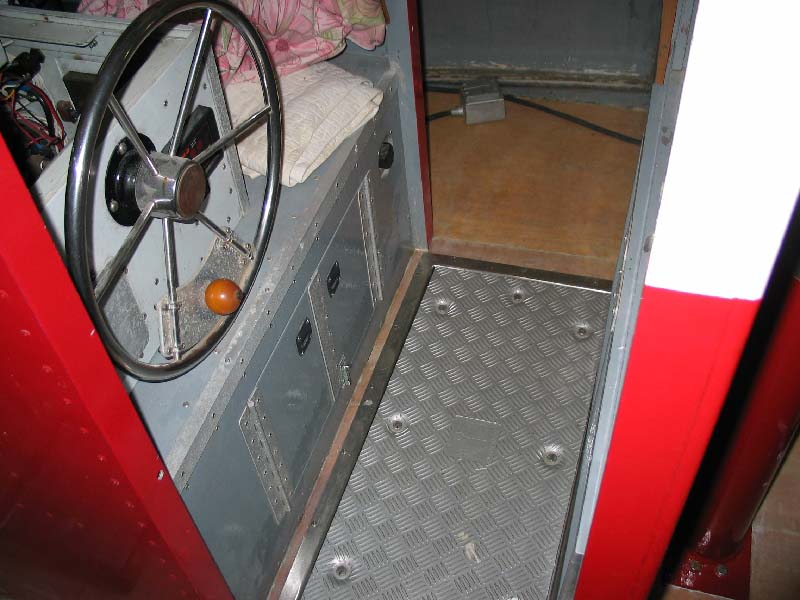
This is the interior of the cabin, the owner brought the boat to our yard to get it updated and completely rewired. |
| After removing all the old dash area a new one was built out of plywood and formica. | 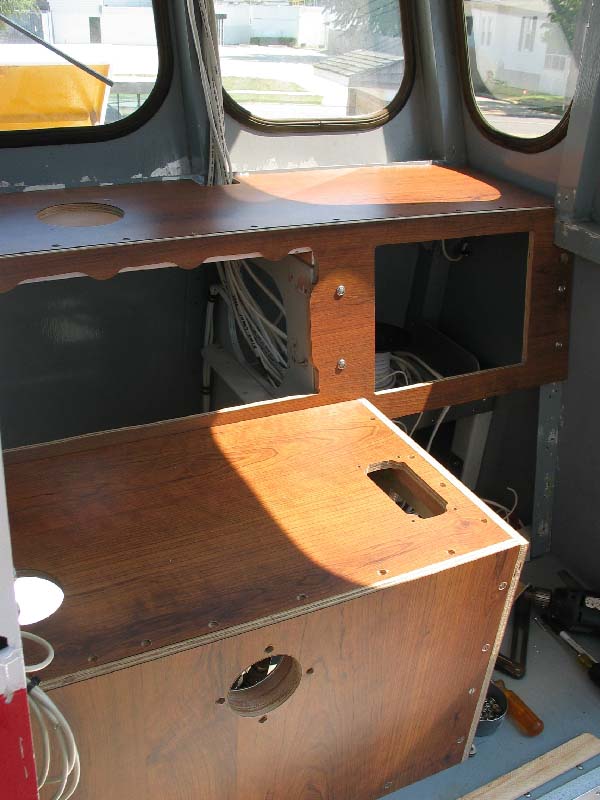 |
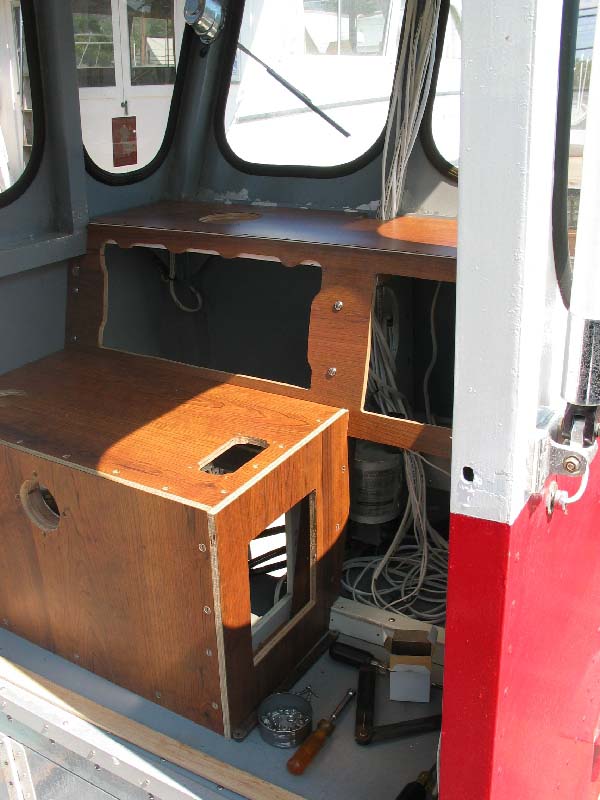 |
There is going to be quite a bit of wiring behind this, so the gauges are going to be in a panel, and the breaker panels will be on a hinged door. |
| Here is the new panel as well as a compass that only needed a new cover to make it look new. | 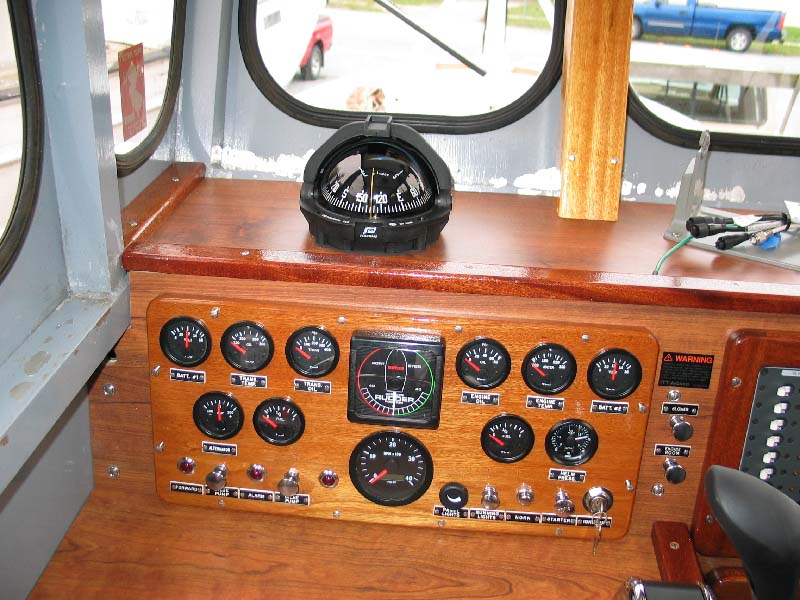 |
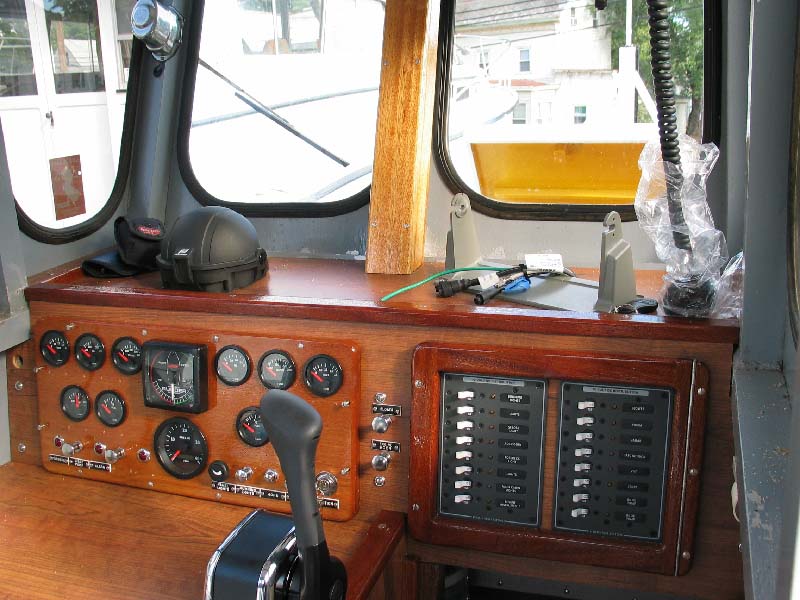 |
The new electrical distribution panels are in a hinged door to make access easier. This becomes more important in such a cramped cabin. |
| The owner is working on installing the new ceiling. A few strips of varnished mahogany really sets the cabin top off... | 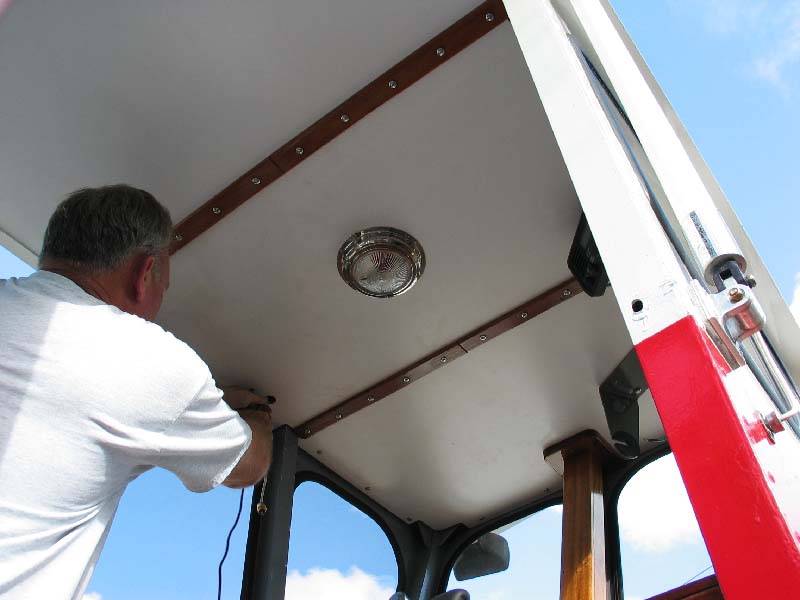 |
 |
This is an older picture of the original layout for the front deck. Notice the box on the deck? That's what originally covered the engine area. Also of interest are the curved sides in the front. |
| In this picture the cover has been removed. Originally this area would of been open, almost like you see here. Someone had covered it with plywood and put a hatch in the middle. | 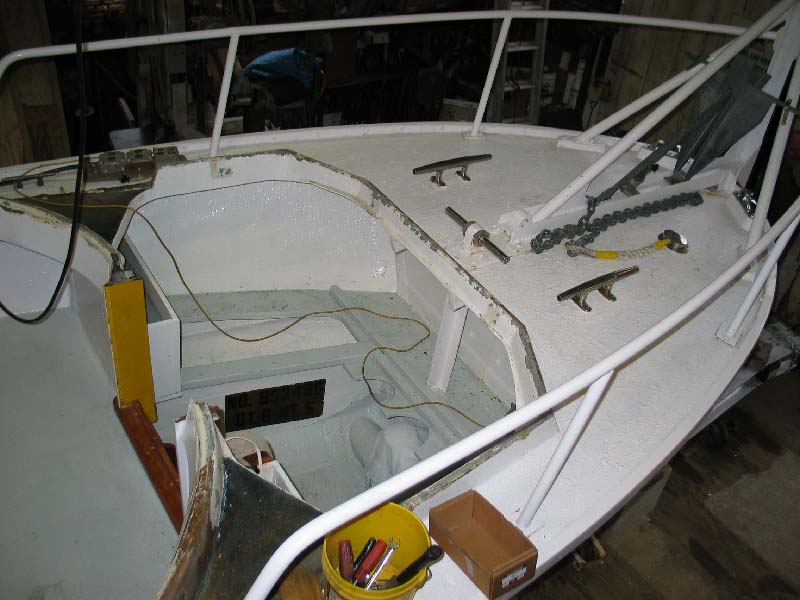 |
 |
There are a couple of reasons this part of the job was done, first because the deck leaked around this front area, and secondly because the owner wanted to have some steps so he would have easier access to the front deck. By squaring up the front corners of the coaming or tub band it made it possible to put steps on either side of the hatch. |
| From the front the new front deck will look almost the same. | 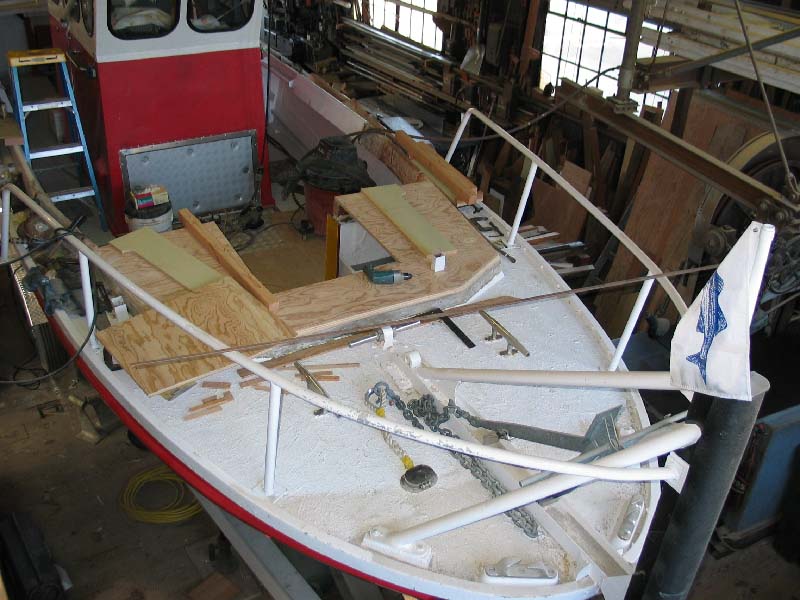 |
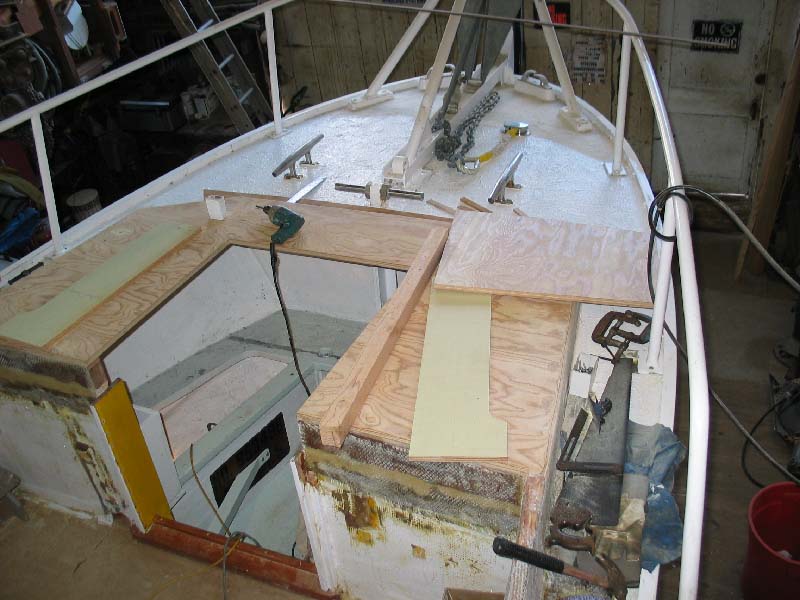 |
From the back you can see the new corners, they will look a bit better once everything is gel coated. |
| The new doors and hatch are framed out and ready for paint. | 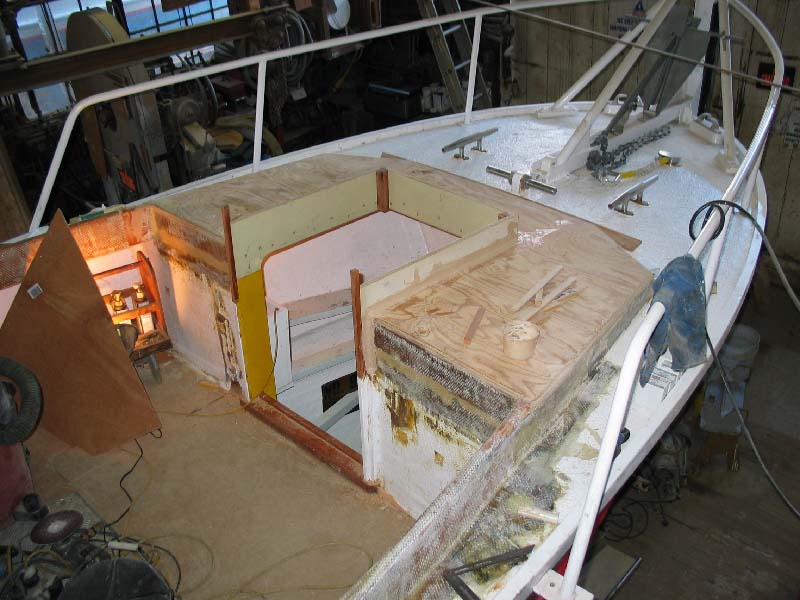 |
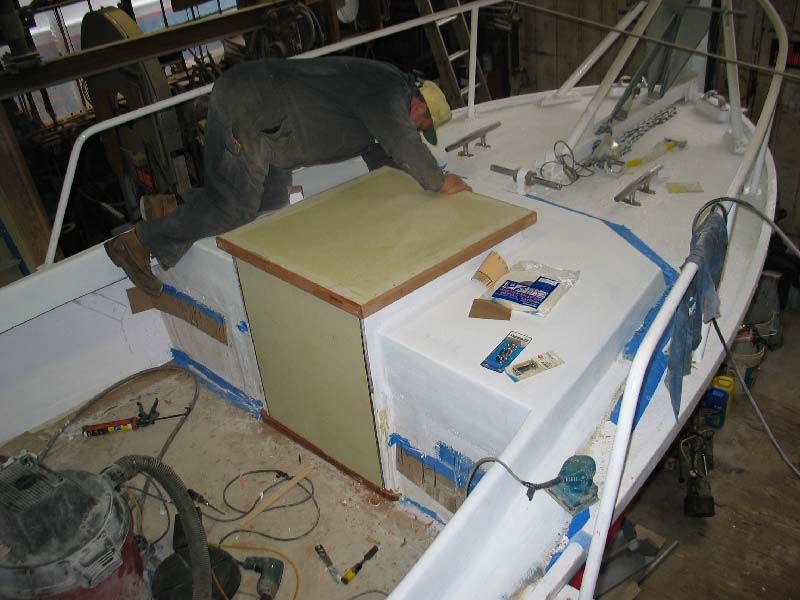 |
Don Flanigan did all of the work on this project, along with the owner, Bruce Lucas. Here Don is installing the front hatch. |
| Here he is checking the fit of the hatch and doors. Its winter time and its cold in our shop! | 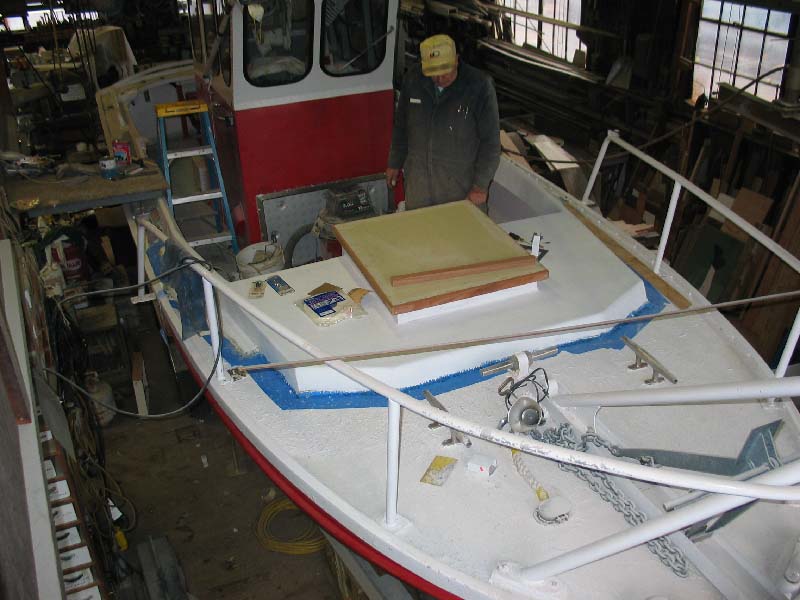 |
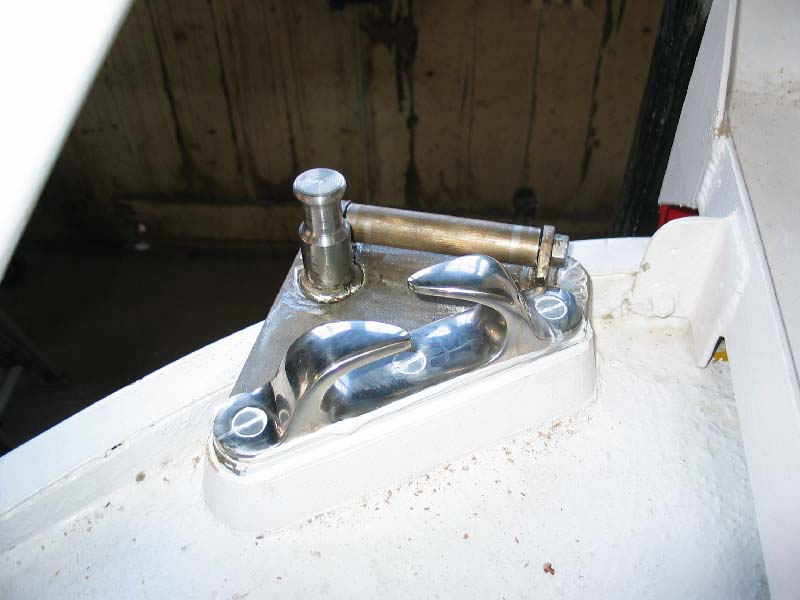 |
This new roller was installed so that the anchorline can run through it, we added a new anchor winch on the port side of the hatch. |
| Here is the look of the new doors, hatch, and anchor winch. Changing the coaming so it runs into the front deck instead of curving added a little bit of space, plus it made it easy to add a set of steps. | 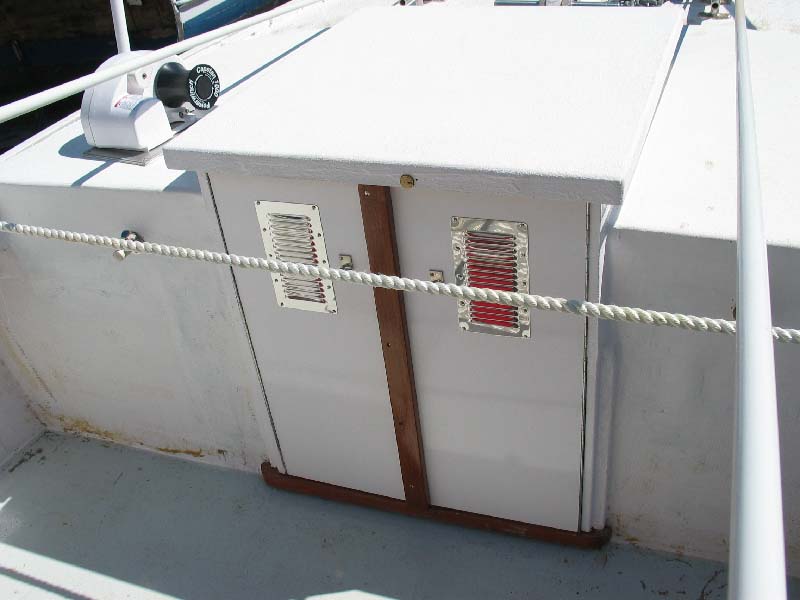 |
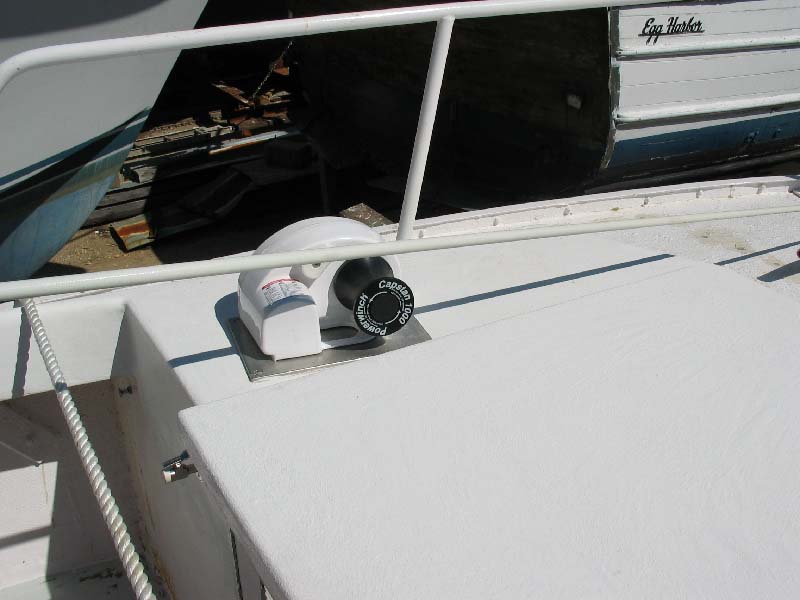 |
Here is the new anchor winch. |
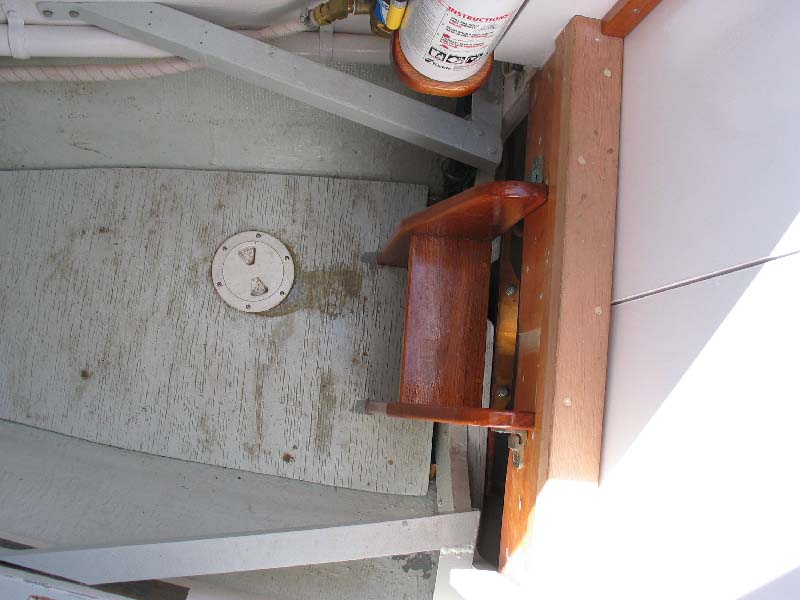
| With the hatch open you can see the nice varnished accent's the owner did on the paint job. |  |
 |
This last picture is of a step we made a couple of years ago to get down to the front area, the new steps that go on the deck are similar. This job was done inside our shop over the winter, most of the work was done on days it was too bad to work outside. Its always nice to have a nice inside job during the winter... |