


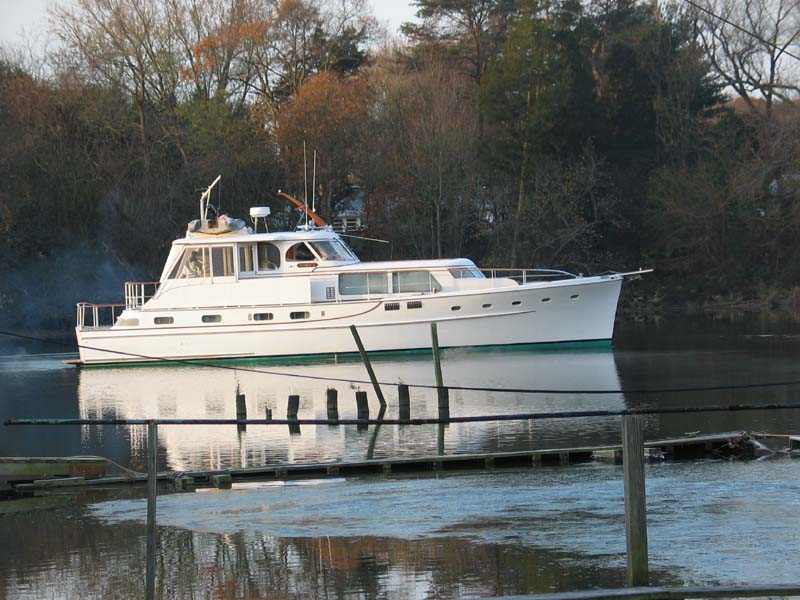
Vixen
| The Vixen, | 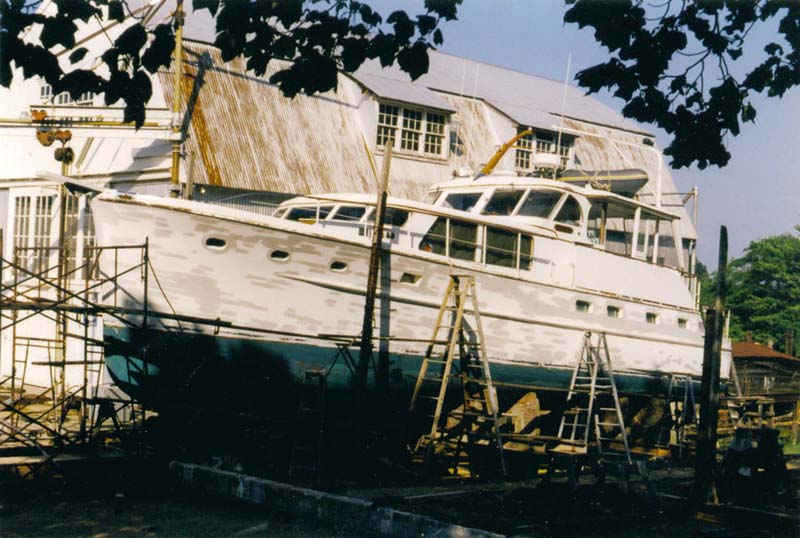 |
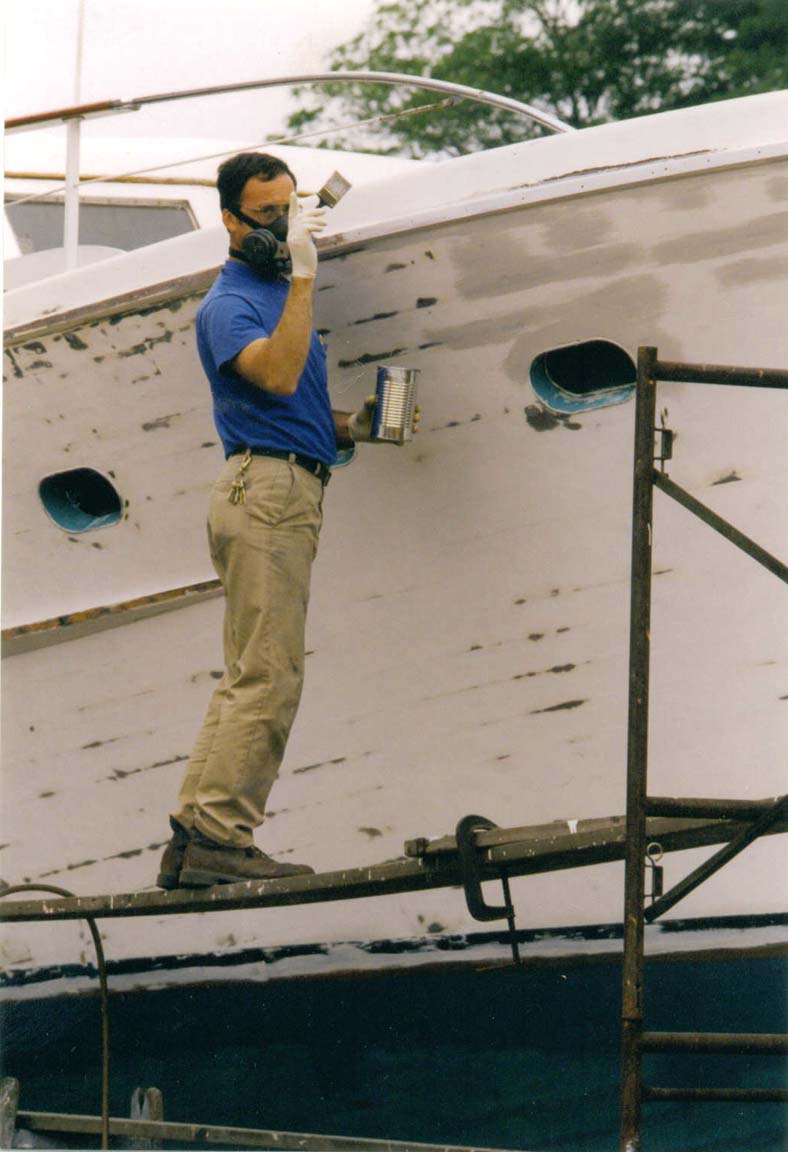 |
In this picture, Wild Bill is applying Primer to all the bare spots after she was sanded. We are using a Sterling 2 part paint on this one. |
| As you can see in this picture, It is quite a job to paint a boat like this. There is a lot of scaffolding to set up, and it is not an easy job sanding all that boat. But that is what we are here for. | 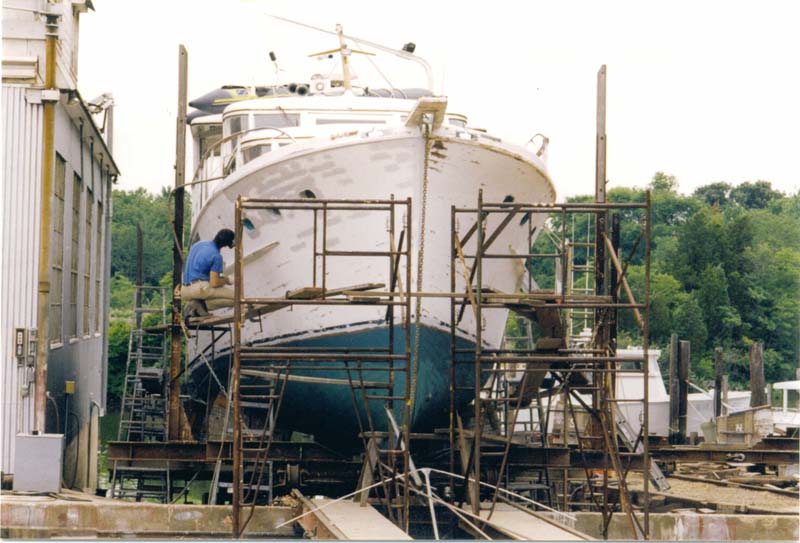 |
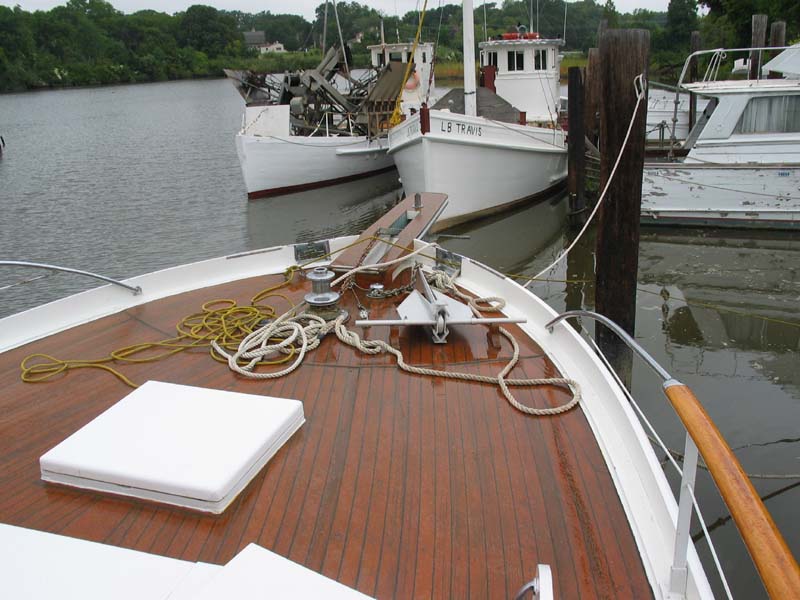 |
A foredeck like this is a nice contrast to Oyster boats don't you think? |
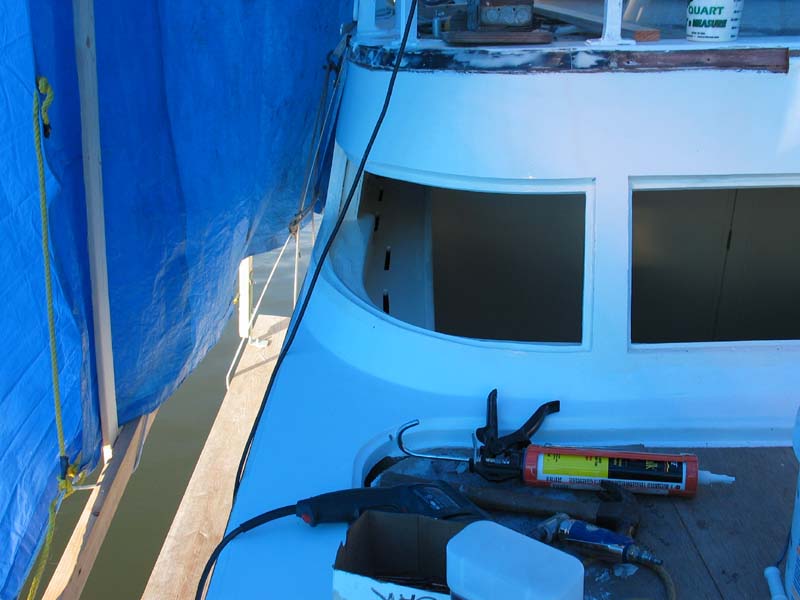
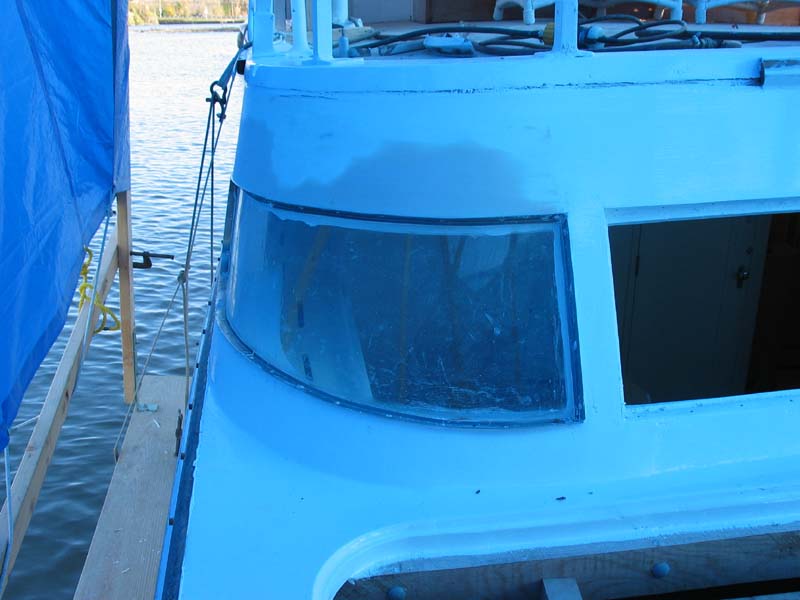
| The Vixen, built in 1947 has rather unique windows on each corner of the Cabin. | 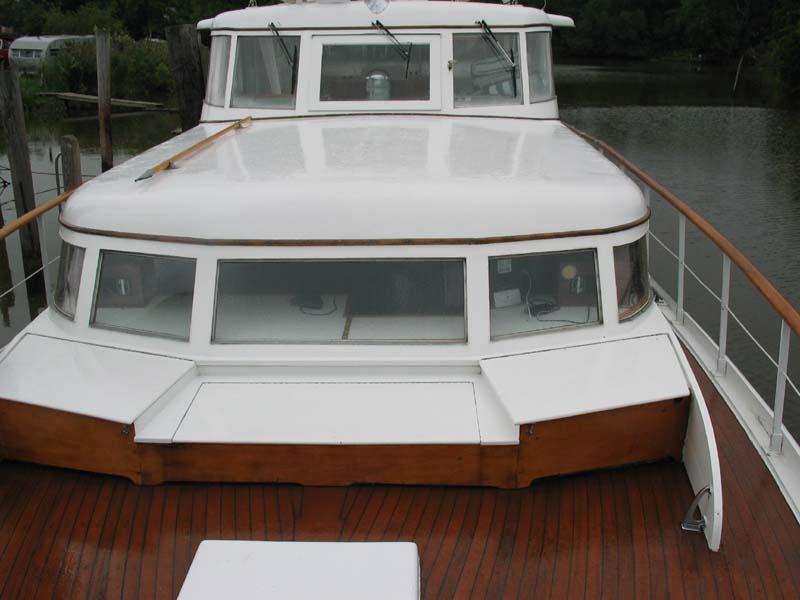 |
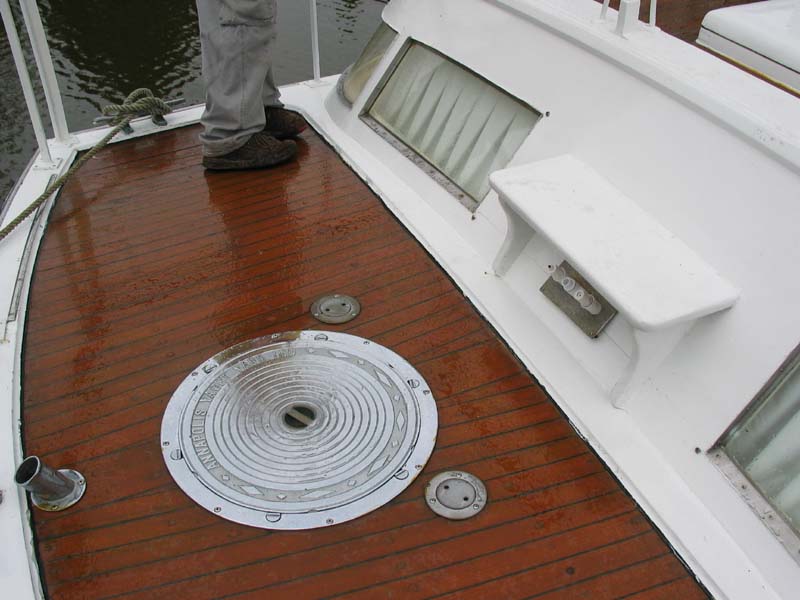 |
The back compartment which houses the steering and Water tanks is accessed through this hatch. One of the curved windows is visible on the far side. |
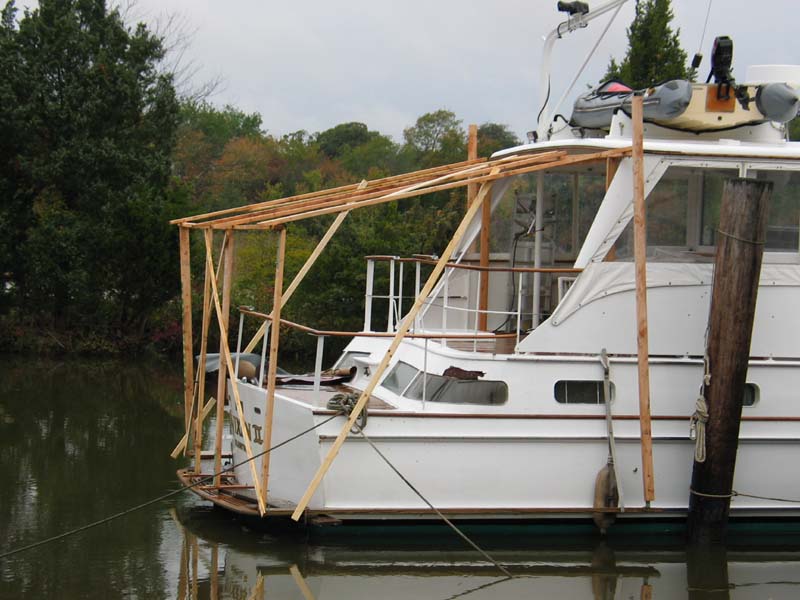
| The back deck of the Vixen is under the main cabin top and can be enclosed. | 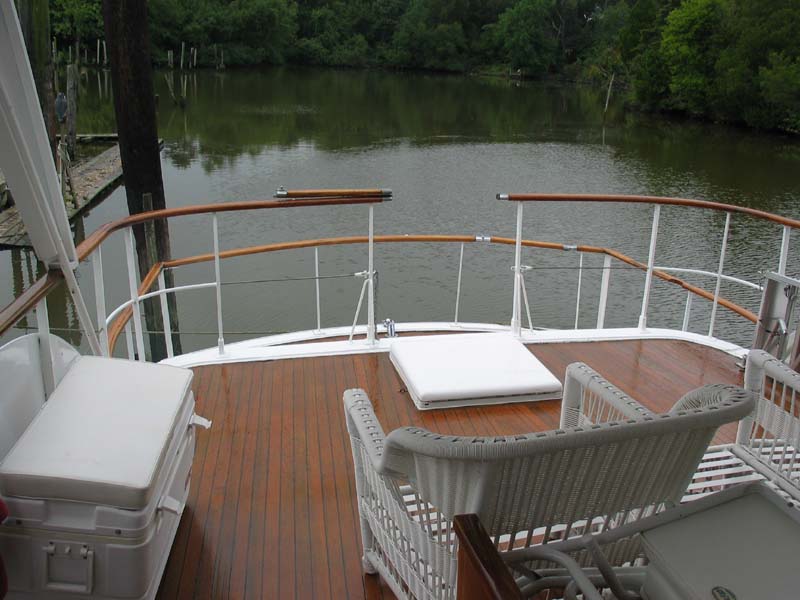 |
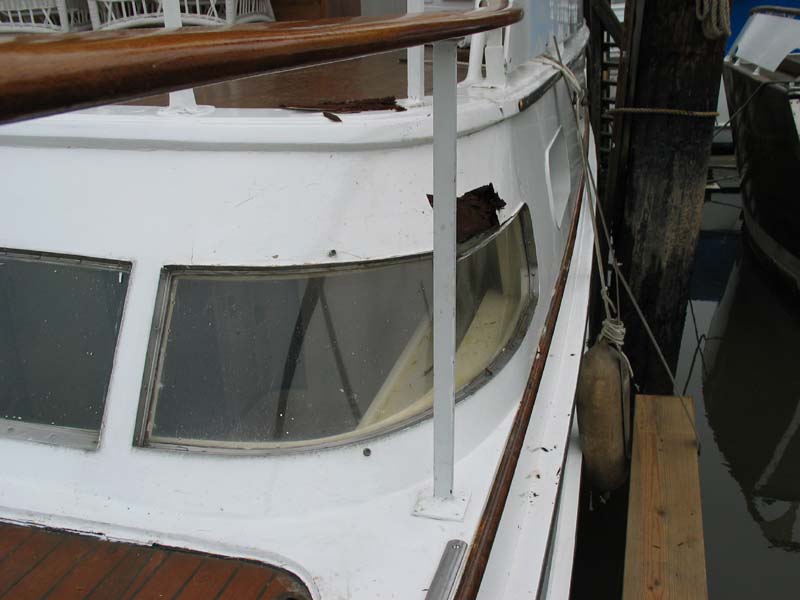 |
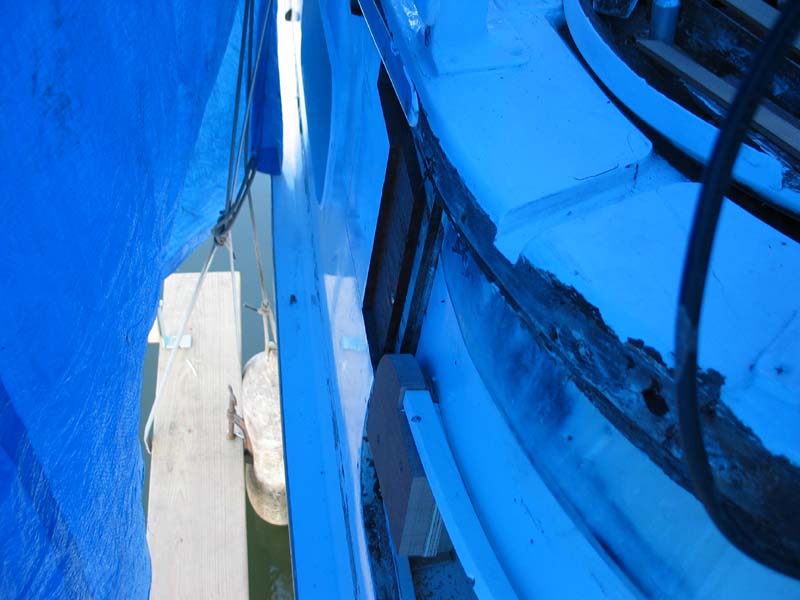
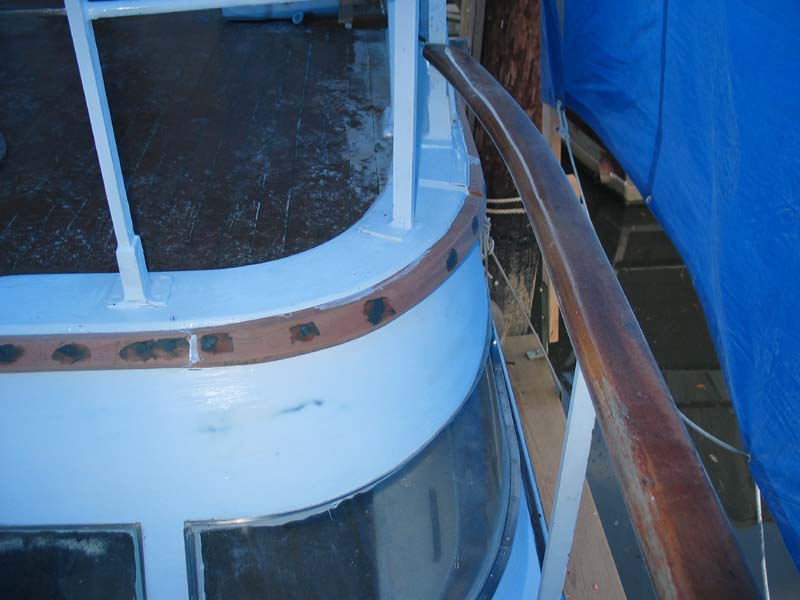
In the fall of 2005 the vixen came back to our shop for repairs on the aft curved windows and the port stern deck. You can clearly see the rot above this window. |
| Both of these windows have been causing problems for some time. The top curved portion is made out of thin layers of mahogany laminated together. They have been coming delaminated and the layers have been rotting over the years. | 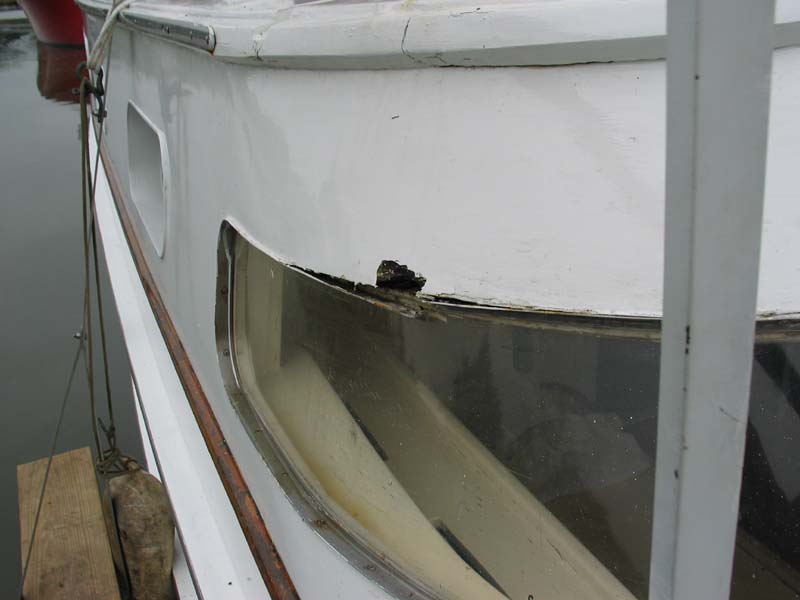 |
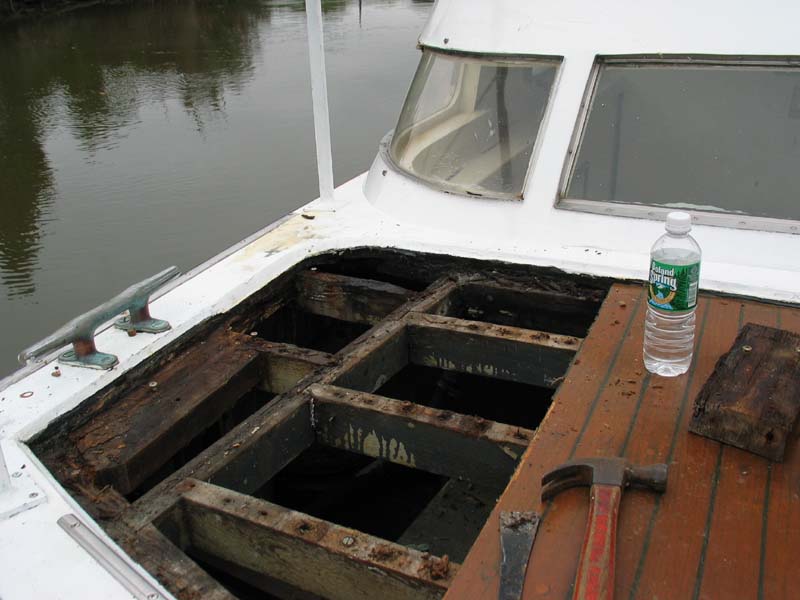 |
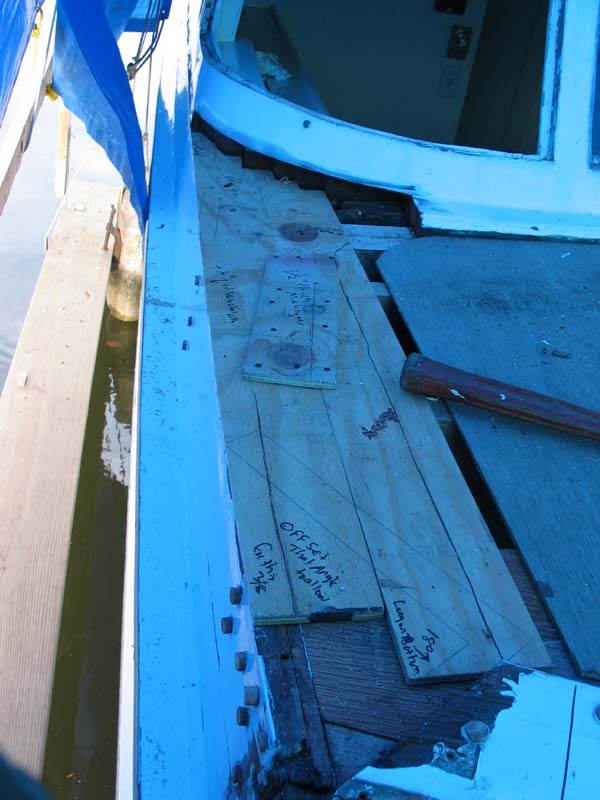
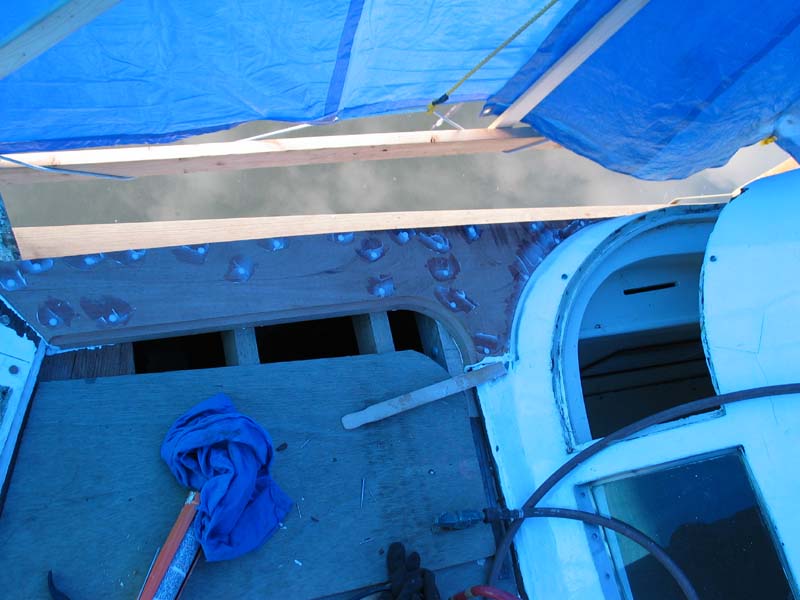
The aft deck has been spongy for a while, after removing the planks the full extent of the rot could be seen. |
| All of the repairs on the Vixen this time around were carried out while she was in the water. We had to hang planks off the side of the boat to walk on. | 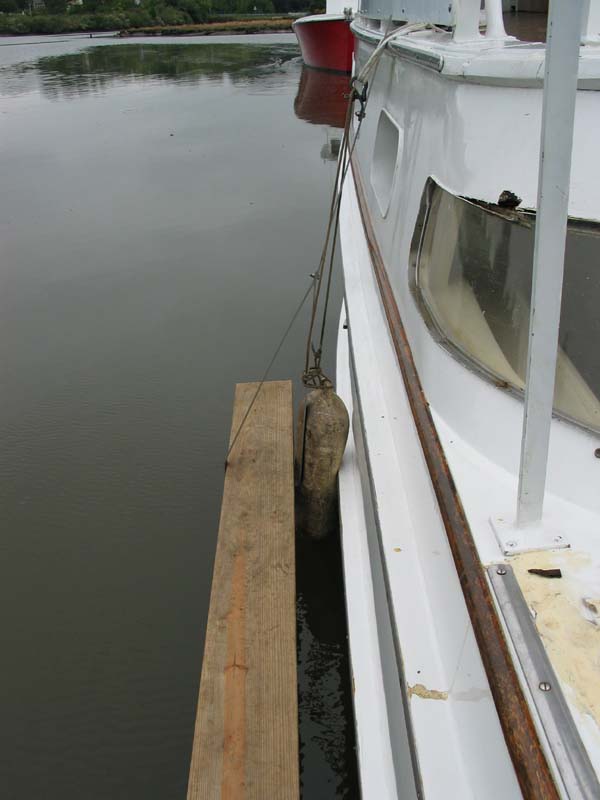 |
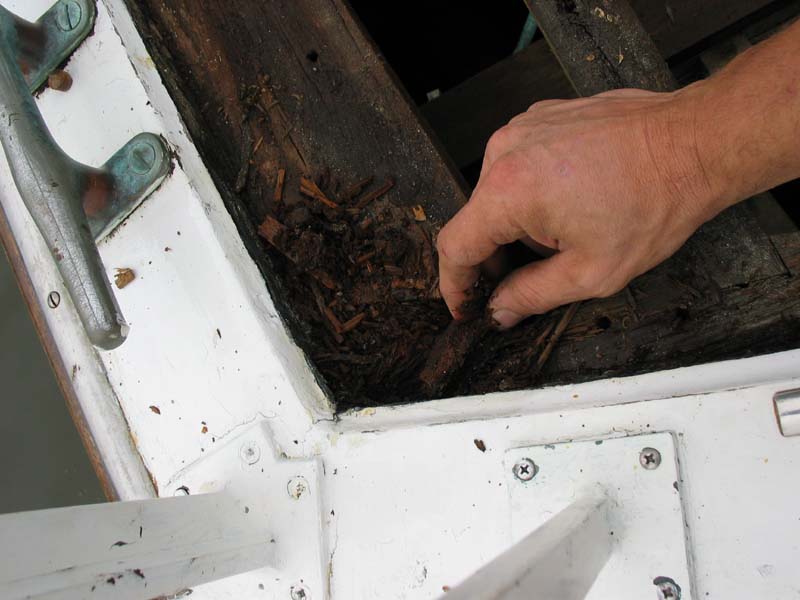 |
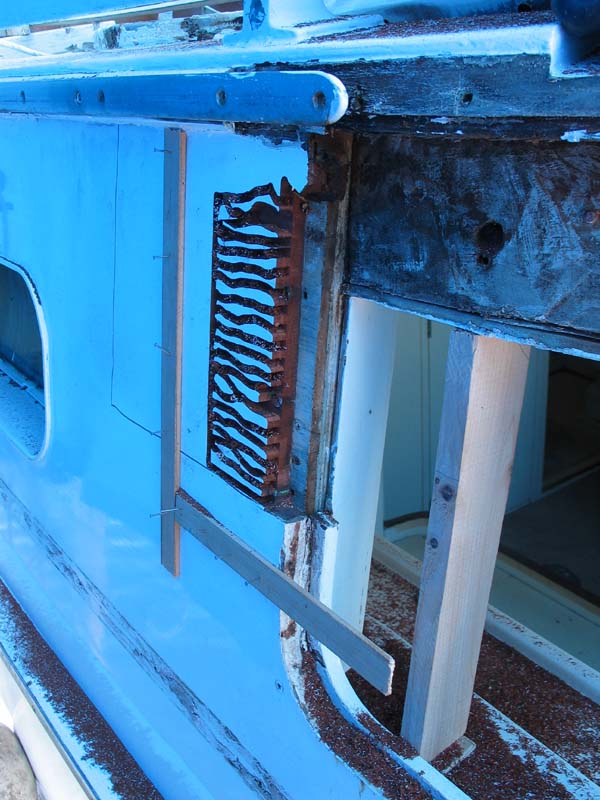
The corner between the stern and the port side was completely rotted away, and because the supporting pieces were gone it was allowing the stern to spread away from the side. |
| This hunk of rusty metal was originally part of the steering system. It needed to be removed because it was leaking rust out the side of the boat. | 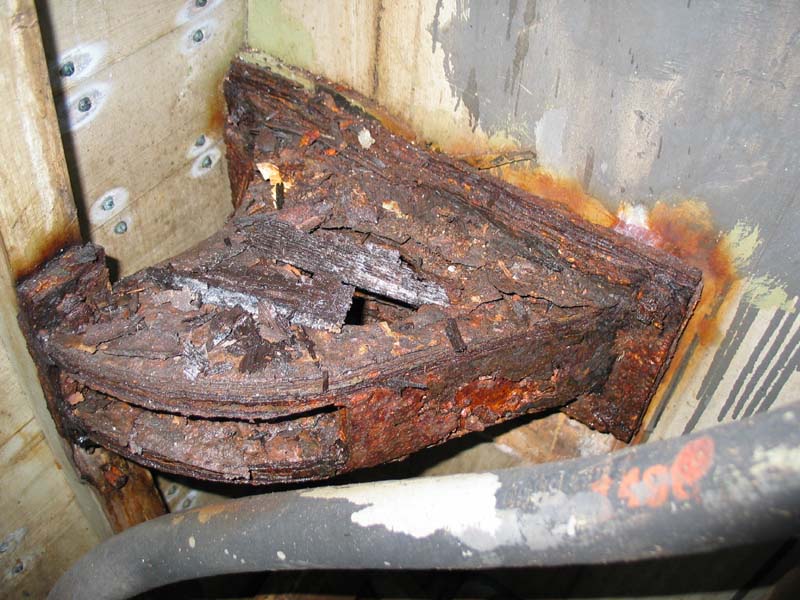 |
 |
Chain clamps are an excellent tool for clamping a corner together like this, Unfortunately they are pretty scarce. |
| Here Bryan is trying to figure out how to get the next piece in place. | 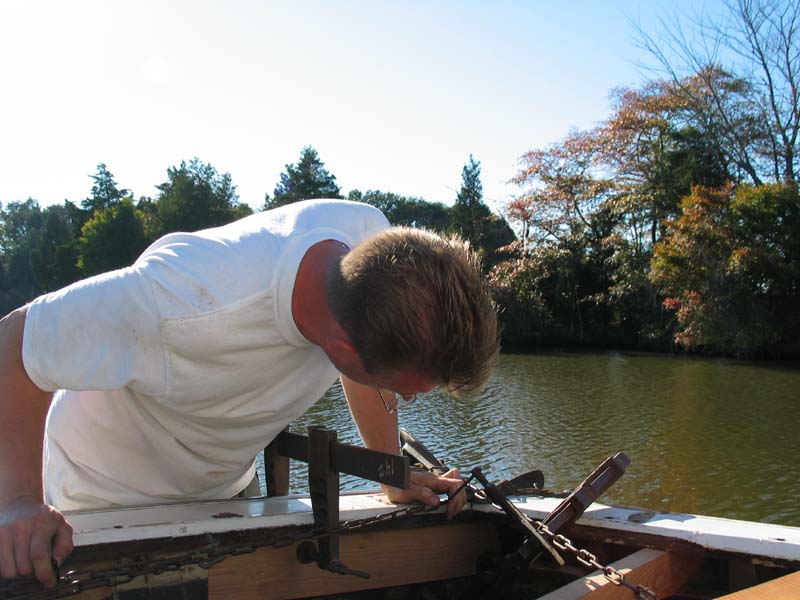 |
 |
In order to give support to the back edge of the deck and hold the actual corner together we installed this piece. |
| Here that piece is installed, you can see in the background that we are putting a tent up, its fall and its getting cold and rainy here in Southern Jersey. | 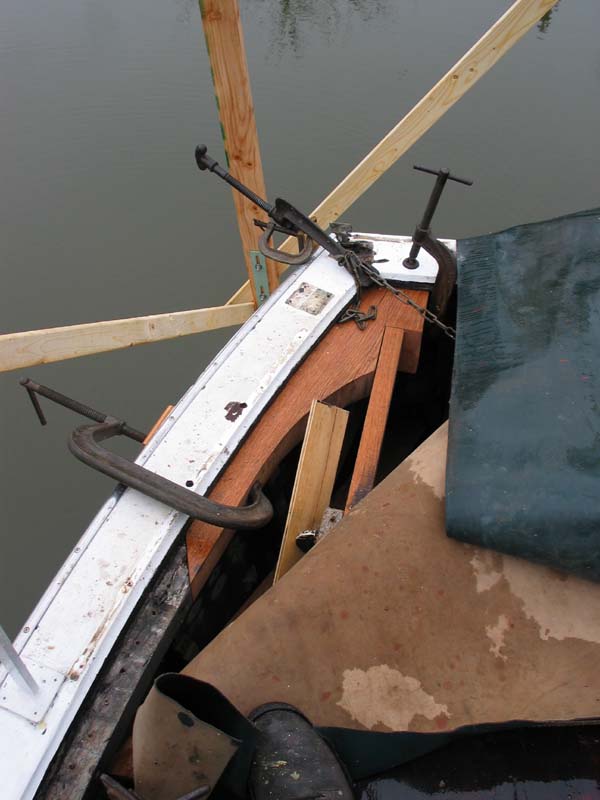 |
 |
We hung most of this tent off of a couple posts sitting on the deck, the rest was supported by our hanging planks over the water. |
| It takes a lot of tools for a job like this, and after a day's work most of them are lying in a tangled mess... | 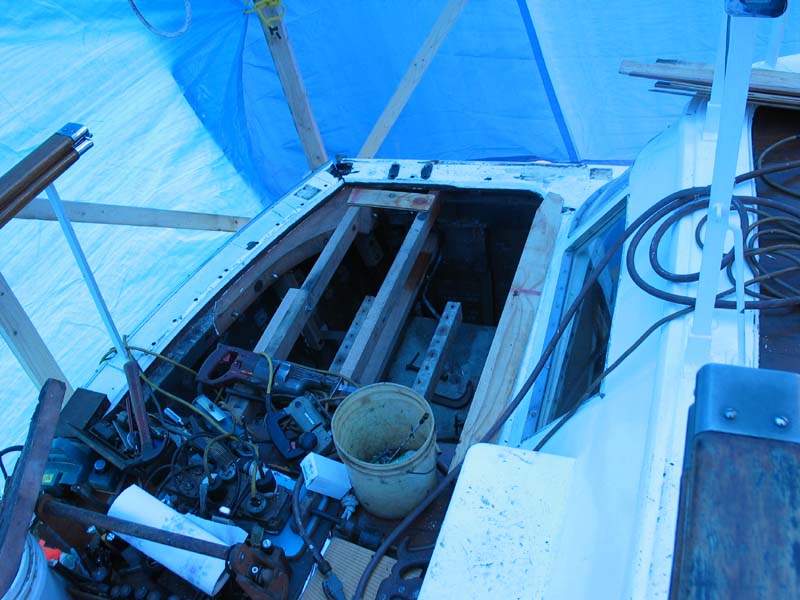 |
 |
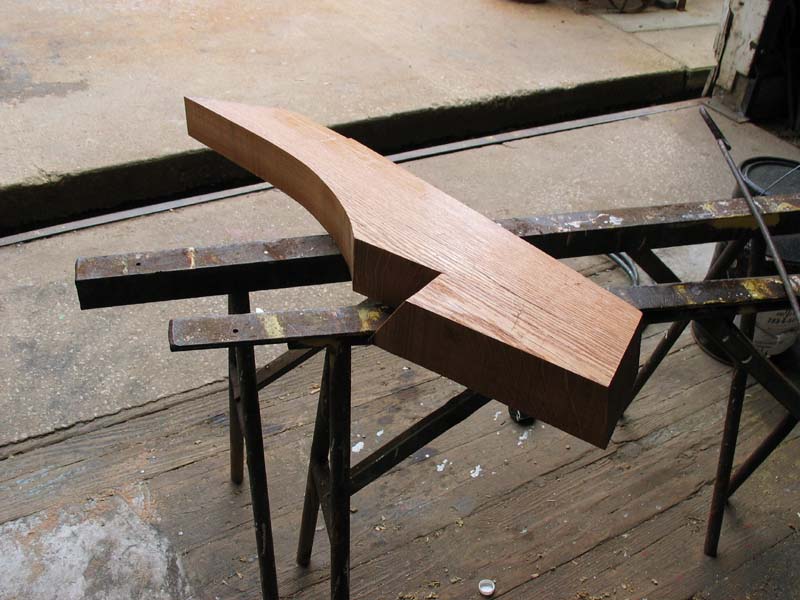
The piece of mahogany that supports the window frame on the port side was rotten, the new piece had to extend under the actual frame. This is the pattern. |
| Here is the newly cut piece of mahogany, a bit of hand work and it will fit just right. | 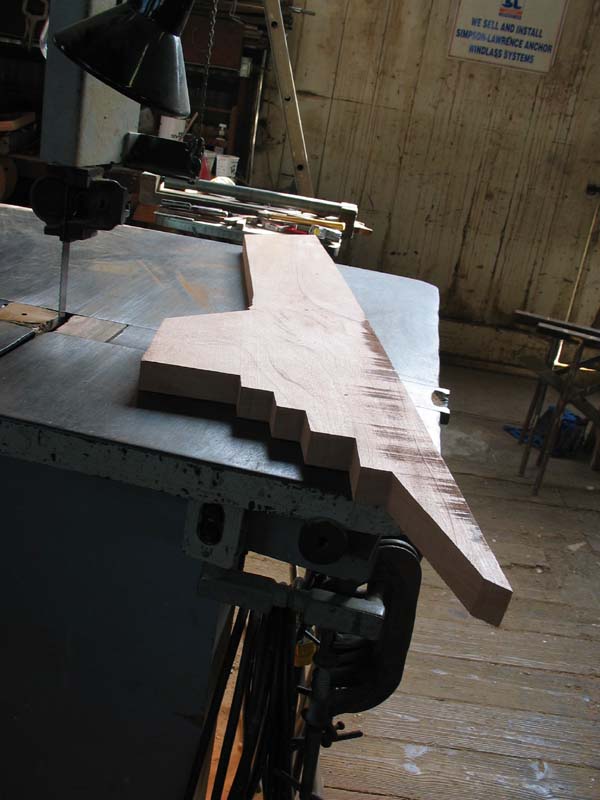 |
 |
Now that the side is repaired and the stern is fastened to it we can start repairing the upper frame of the window. |
| To start repairing the window we made a frame inside of the existing window that will support the new window frame while its being made. | 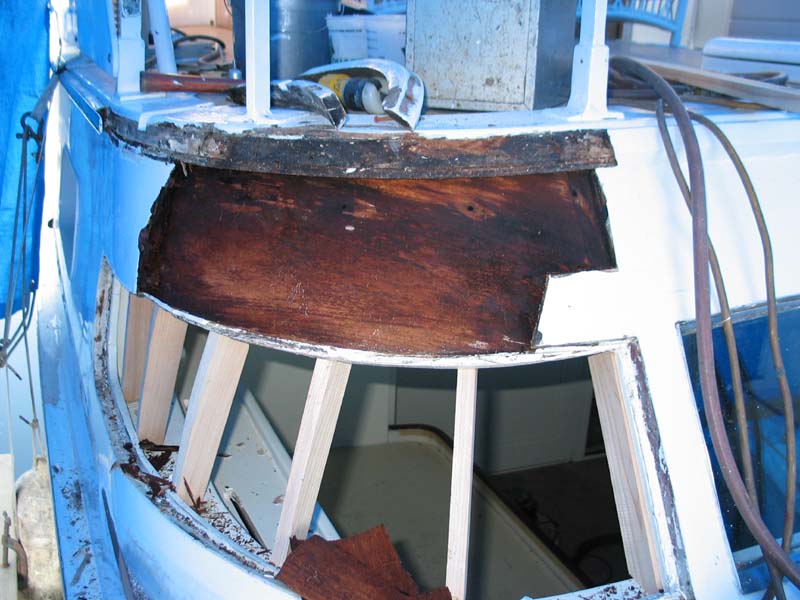 |
 |
The new window frame will be made entirely out of fiberglass and will be joined to the side and rear planking by a lap joint. Here we have routed out some of the side plank, the rest will be removed with a chisel. |
| In order to have the new window frame fit the existing plexiglass window we bent a very thin piece of aluminum around the wood frame pieces and fastened a piece of starboard at the bottom to act as the mold for the bottom edge. | 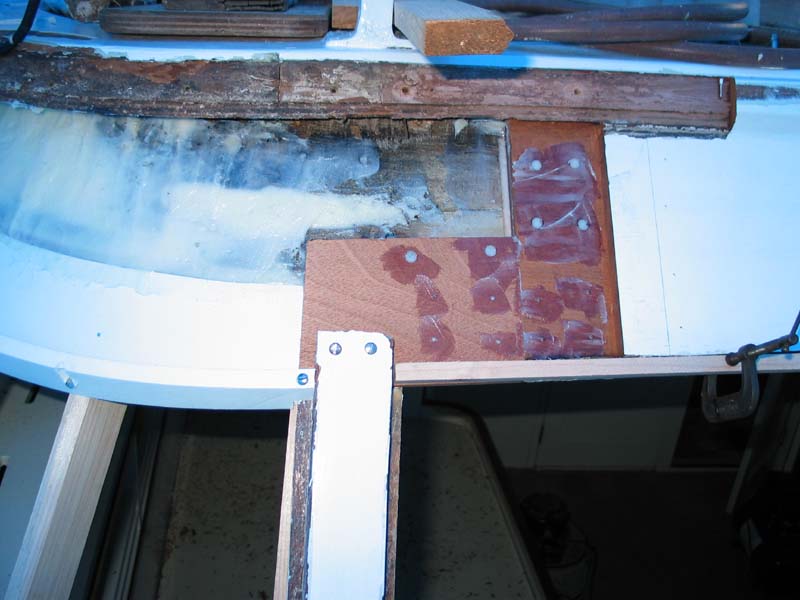 |
 |
You can see the forward side of the mold, in this one you can see how the new fiberglass will go behind the piece of starboard and that small mahogany block and eventually form the place where the window sits. |
| The first layer of fiberglass is done, we used fiberglass mat and polyester resin. |  |
 |
The fiberglass work is finished, all that remains is fine tuning with a grinder and fillers. |
| Another view of the port aft window fiberglass frame. | 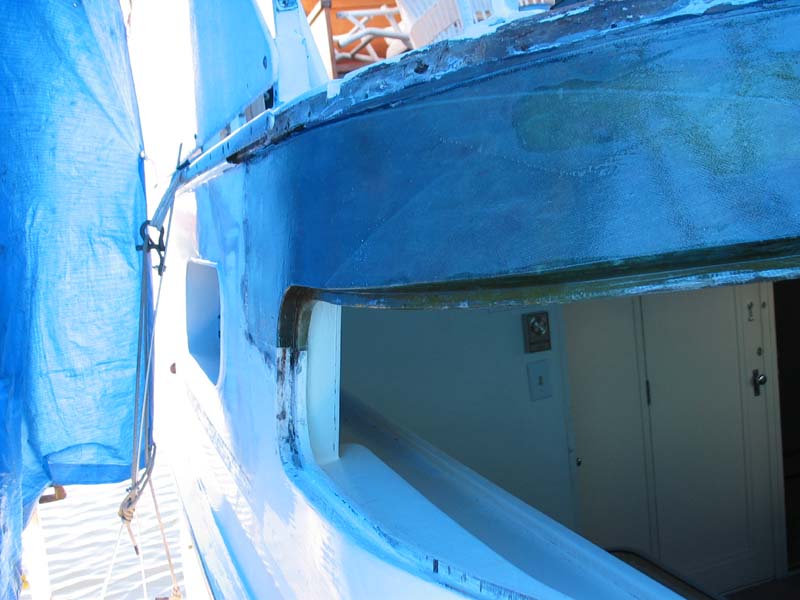 |
 |
A little bit of primer really improves the look of things. There is still a lot of work to do, but we are getting close now. |
| the starboard window was repaired in exactly the same way, the weather was a bit colder so we had to cure the fiberglass with heatlamps. | 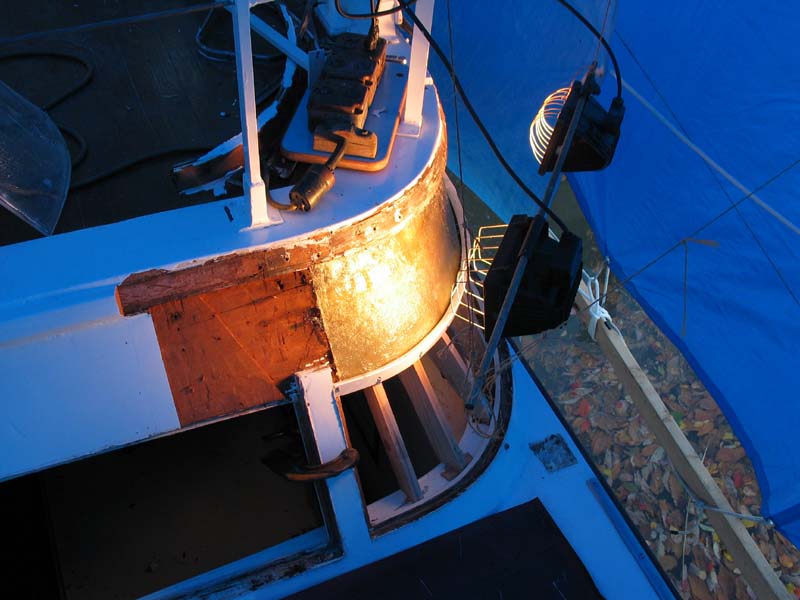 |
 |
With the plexiglass window reinstalled and the metal trim holding it in place a bit of filler was added to make everything flow together nicely. |
| After finishing all of the fiberglass work and most of the painting we installed the new teak for the deck. | 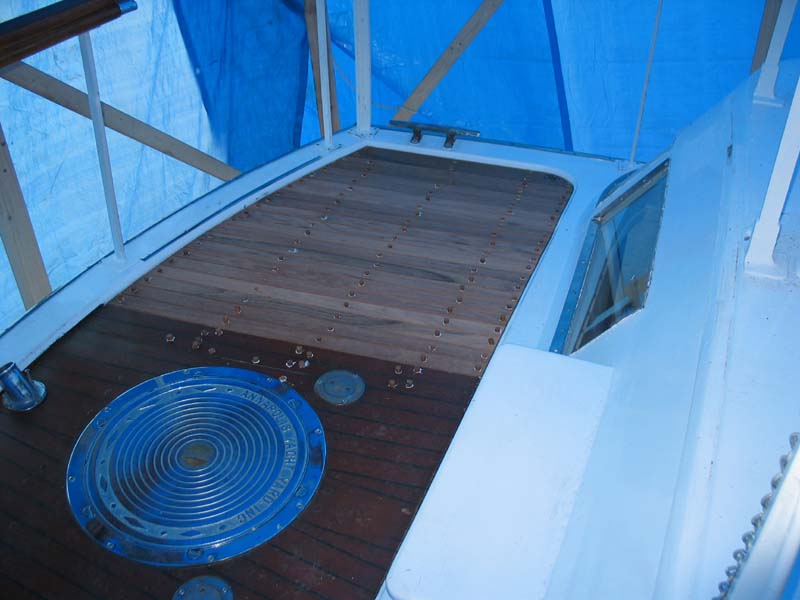 |
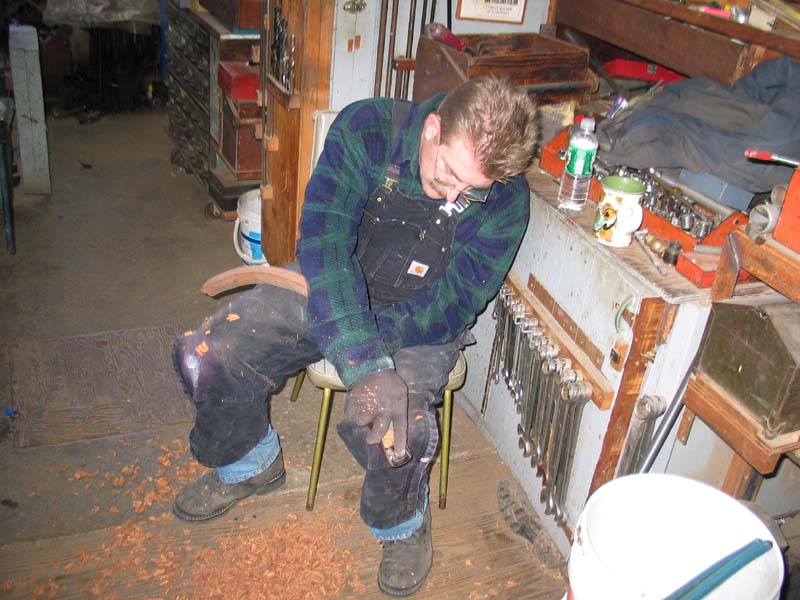 |
Here Bryan is tuning up the moulding for above each window. |
| Both pieces were cut out of a single piece of mahogany. Cutting a rolling bevel curved piece like this is a piece of cake with our big bandsaw. | 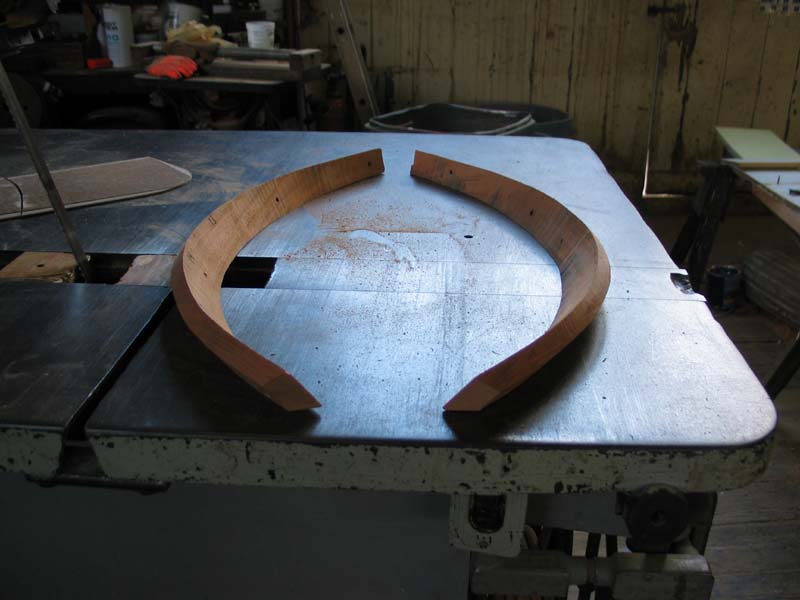 |
 |
Here is the curved trim installed, a little bit of hand planing now that its fastened to the boat and it will look just right. |
| The easiest way to install the caulking between teak planks is to tape each seam. It takes a bit of time, but it comes out much nicer. | 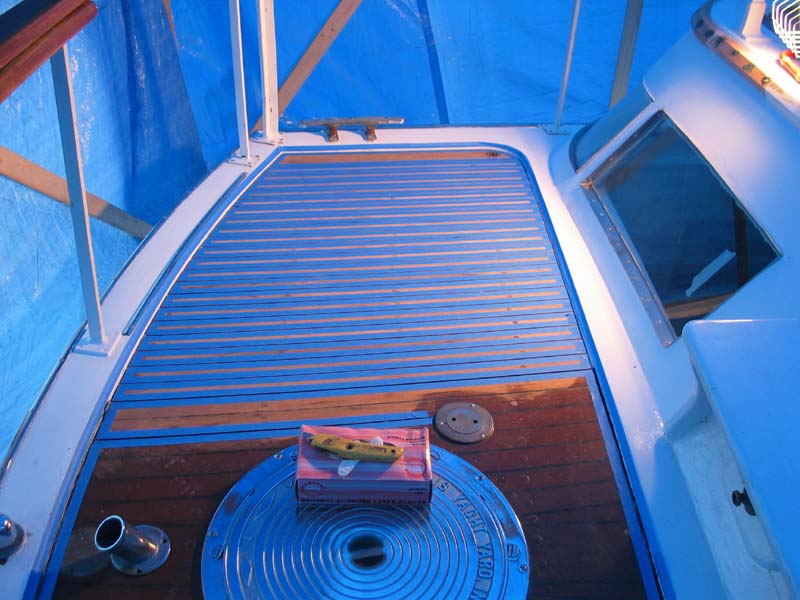 |
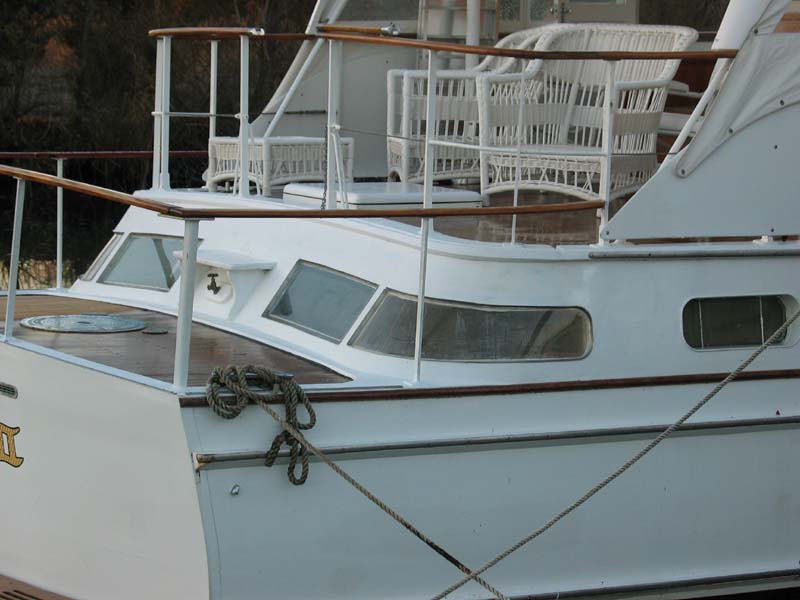 |
Here is a view of the newly repaired window from the bank. |
| New Teak ready for finish. | 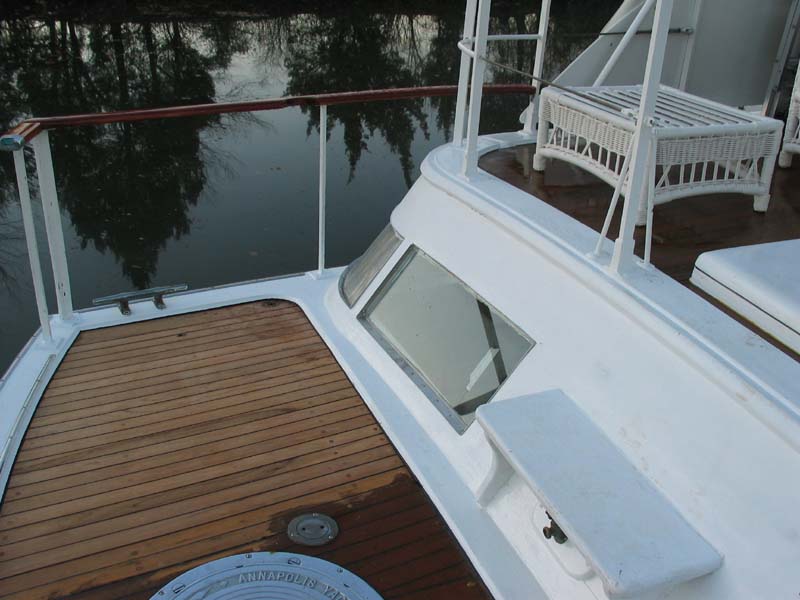 |
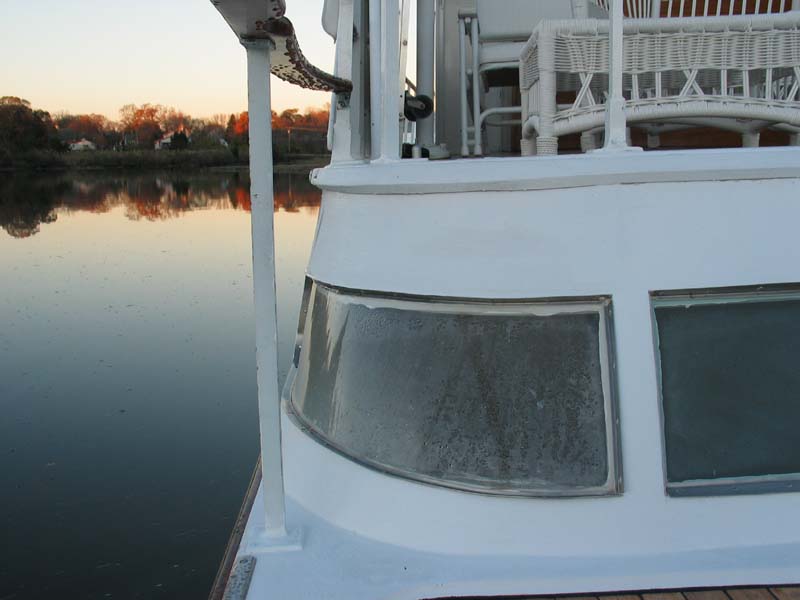 |
One last view of the new Port window. |
| One last view of the new Starboard window. |  |
 |
Goodbye Vixen, come again! |